Showing posts with label Maneuver Warfare Notebook. Show all posts

Wednesday, June 27, 2018

REPOST: Maneuver Warfare: A Wargamer's Notebook - Surfaces and Gaps - A US Marines Squad's Contribution to Recon-Pull Command

This blog has been around for a while. Some of the posts were and are more popular than others. It would be a pity for some of the new readers not to get a chance to read those posts. In that spirit, time by time, I'm going to be re-posting some of the oldies. Be advised, some of them are quite old and may contain inaccuracies, grammar and spelling errors.

This series of blog entries are about the so-called "maneuver warfare" as explained by William Lind. The writings of Robert Leonhard will also be included. I claim neither expertise in the subject nor devotion to this way of waging wars and thus I am not trying to convert you into anything. This series is not an analysis or a review of all ideas about maneuver warfare but rather some explorations about the topic based on computer war games and simulations. Future entries will be delivered based in readership.


Surfaces and gaps is a very simple concept: avoid enemy strengths (surfaces), find a gap in the enemy lines and go for the enemy's position depth. Kinda common sense, we may say. The real acme is how to find and be ready for these gaps. Remember the enemy is not an static entity and will be on the move or react to your moves.


Finding and exploiting those gaps in a timely manner is what is known as "recon pull" (future course of action is frequently adjusted by lower echelon commanders to what your reconnaissance troops find out). That is opposed to "command pull" (future course of action remains constant for a considerable amount of time and determined by higher echelon commanders).


Today's entry is about the smallest unit action you can imagine during a recon pull. A US Marines squad is about to conduct a reconnaissance patrol after being stopped by a seemingly strong enemy position.


According to Lind, the usual infantry squad is too symmetrical (each fire team has exactly the same weapons). In page 25 of Maneuver Warfare Handbook, Lind proposes that the squad should be split in a probing/assault team (riflemen and grenadiers) and a fire support team (automatic rifles plus grenadiers). 


The probing team, composed of riflemen and grenadiers, should act as the probing, breeching, and, where necessary, assault element. The support team, armed with the squad automatic weapon and grenade launchers, should provide firepower to suppress enemy opposition.


In the next paragraph, Lind comments on how the exact composition of such teams should be adjusted according to the situation at hand. In wooded terrain, for example, he proposes that the probing team should be composed of two, maybe three riflemen with the rest of the squad as the support team.


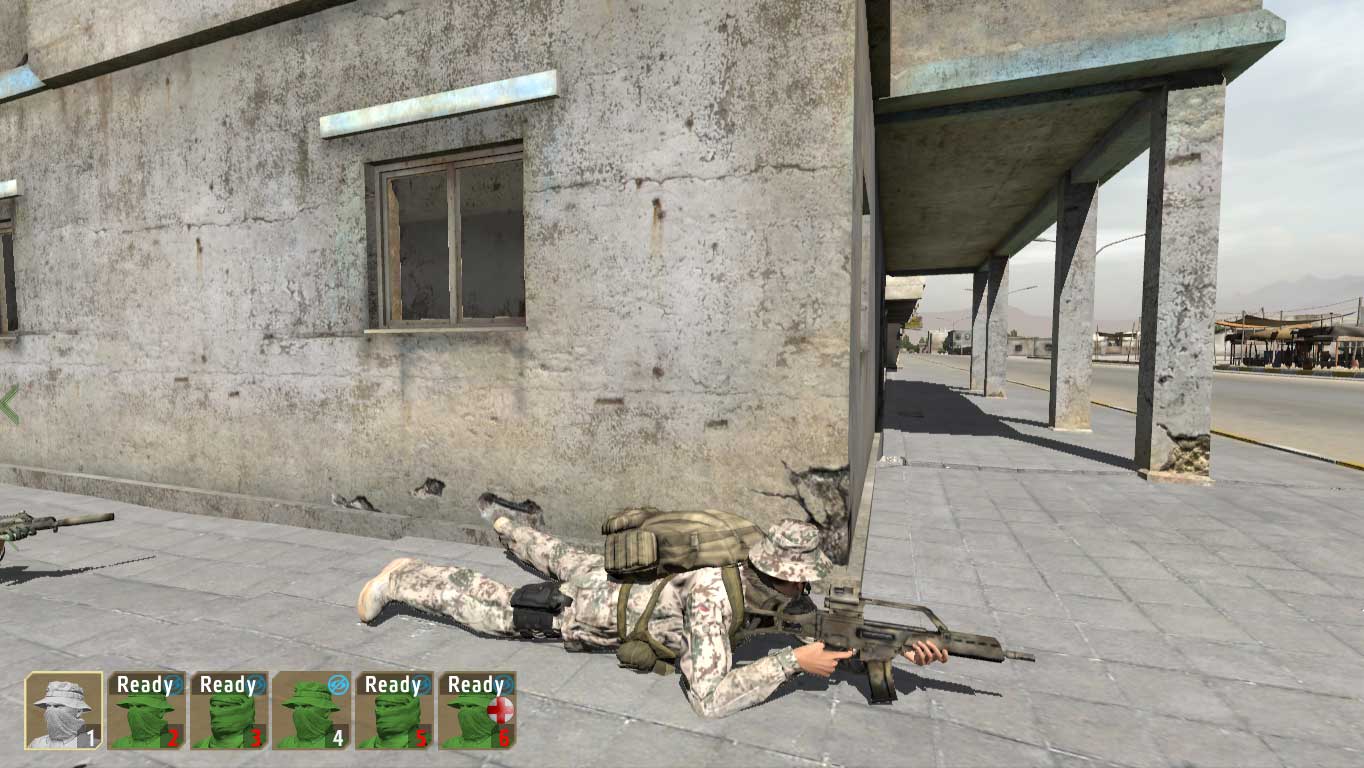
Let's see how that works in ArmA 2.


The overall tactical situation is not very promising for the US Marines in Chernarus. A forward detachment of a Russian Mechanized Battalion (big red icon) has started moving south and once all forces arrive, it is expected to conduct a south-bound assault on the Marines' position (not shown here). Out of options, a US Marine company commander orders his troops to interdict the enemy (crossed arrows with the letter "I" on top of the big red icon) in order to buy time until reinforcements arrive. A US Marines squad (rectangular blue icon) is on point for the first platoon of the company. The objective of the squad is to conduct a reconnaissance of the enemy defenses around Pavlovo. The squad had dismounted from its AAV-7, just short of the open terrain north of the road bend.

Wednesday, February 2, 2011

Maneuver Warfare: A Wargamer's Notebook - OODA Cycles - In the Air: Sabres vs Migs

This series of blog entries are about the so-called "maneuver warfare" as explained by William Lind. The writings of Robert Leonhard will also be included. I claim neither expertise in the subject nor devotion to this way of waging wars and thus I am not trying to convert you into anything. This series is not an analysis or a review of all ideas about maneuver warfare but rather some explorations about the topic based on computer war games and simulations. Future entries will be delivered based in readership.


In the previous entry, I mentioned how John Boyd got the idea of the OODA cycles from the air combat realities of the Korean War. Apparently, the F-86 Sabre had no advantage over the Mig-15 in thrust, turn or climb rates. It was the ability of the F-86 Sabre to quickly transition between maneuvers what made the difference against the Mig-15.


In this entry, I fly through the virtual skies of North Korea looking for some edu-fun-meint.


The choice of flight simulator was easy: Rowan's Mig Alley. I don't think any mod out there for more modern combat flight simulators can replicate the dogfight experience of the good ole Mig Alley. A thing I never got over with fan-made mods to flight simulators is the lack of information about their flight models. Since flight models are really very important for this entry, I just sticked with Mig Alley. BTW, this flight simulator (ugly as it looks by today's standards) has a lot of personality. Maybe I should write a few more entries about it.


So, I went on and flew the Sabre and the Mig in empty skies. On the issue of maneuver transitions: yes, I can invert, roll and shake the stick with an almost immediate response in the Sabre. Not so fast with the Mig-15. Check, issue is closed.


Can the fast transitions of the Sabre translate in faster observation-orientation-decision-action  cycles that can be used to gain an advantage? Seoul, we have a problem ... Of the OODA cycle, 3 out of 4 steps (observation, orientation and decision) depend exclusively on the man and just one (action) step partially depends on the machine. Yours truly is a terrible combat pilot ... 


Even when the Mig-15 was mentioned above in having the advantage in sustained performance, this advantage is not gigantic. For air-combat purposes, the Sabre and the Mig can be considered as "similar aircraft". I experienced this in the flight simulator: flying the Sabre in turn-and-burn dogfights (angles fights would be the academic term), and in particular at the very end of flat scissors maneuvers, I frequently ended up in a head to head zoom ins. In other words, both aircraft can turn almost at the same rate and with the same radius.


Head to head zoom in. Scary stuff ...


I still have to work my flying skills to take advantage of the supposedly faster transitions of the Sabre. All I can report today is how I took advantage of a bad OODA cycle of a Mig-15's pilot.


So here it goes: a mano a mano with a Mig-15 (computer opponent set to "hero", the maximum skill available).


A Mig-15 in my tail ... Just another day in the office.


The Mig-15 is turning with me.


He tries hard to saddle. Here is to hope that the Mig-15 overshoots.
The turns into me, I turn into him ... A tad late but that's what the books say I am supposed to do.

Another opening of the scissors. The Mig is shown turning into me. Note that this maneuvers are not actually textbook rolling scissors, as the Mig-15 has still  positional and angles advantages over me.
BAM! The Mig-15 pilot, now spooked by the multi-story buildings, is short in airspeed and altitude and abandons the turn in order to regain both. I can see him struggle to regain control of the aircraft without stalling. I turn into him immediately.
The Mig-15 is trying to get away. I struggle to regulate my airspeed to a perfect closure rate that avoids an overshoot. 
The Mig-15 is in the background, it gained some airspeed but it is still low and flying away in a gentle turn. My inability to regulate airspeed forces me into a lag pursuit roll, here shown in its initial stage.
In a surprising move, the Mig-15 reverses his turn into me and climbs to meet me. Fortunately, he started to climb at a relatively low airspeed and to add insult to injury he turns into me. He made an awful decision and is flying really slow. That's why I got a chance for a couple of on-target snapshots. Shown here, a few seconds after my two cannon bursts (smoke can be seen from the Mig's tail).


I let him to pass by my aircraft. He goes down in a gentle spiral turn. It's a confirmed kill.


Cheers,

Friday, November 26, 2010

Maneuver Warfare: A Wargamer's Notebook - Surfaces and Gaps - German KSKs and a Gap that Actually is a Kill Sack


This series of blog entries are about the so-called "maneuver warfare" as explained by William Lind. The writings of Robert Leonhard will also be included. I claim neither expertise in the subject nor devotion to this way of waging wars and thus I am not trying to convert you into anything. This series is not an analysis or a review of all ideas about maneuver warfare but rather some explorations about the topic based on computer war games and simulations. Future entries will be delivered based in readership.

This entry is related to the previous one. Today, a German SOF team reveals the hidden truth behind a seemingly inviting gap.

War is all about things not being what they actually look like. The wise warrior will use every ounce of imagination to trick his enemies into believing he is stronger or weaker than he actually is. In the previous entry, we found out about surfaces and gaps and how you as a commander should avoid the enemy strong points and pull through his weak spots. We should keep in mind that in the battlefield very few things stay the same over time or are actually what they look like. That's why once we detect an enemy's weak spot we should act fast but keep our eyes open to avoid any surprises.

Today's mission: a German KSK special forces squad is returning from a successful snatch and grab at a urban area and now is attempting an exfiltration towards a linkup point eastward from their position. The squad featured in this mission is part of a platoon and the exfiltration is being conducted by squads. The enemy (insurgents) is slowly coming to grips about the raid and is setting up blocking positions wherever they can.

A German KSK squad (light blue icon) is exfiltrating eastward towards a linkup point (not shown here). The wavy line is the tactical graphical symbol for an infiltration mission, but given the similarities between infiltration and exfiltration missions it is used here with a bit of gamer's ignorance license. Both lines set up a corridor for the maneuvering of the squad and provide a control measure just in case there is a need for indirect fire support. 
The German squad will attempt to move at or near streets to keep speed at a reasonable level.

First things first, I organize the squad into two teams: recon/probing and support teams. Shown here, the recon/probing team: squad leader (me) and a light scout (#4). I have come to appreciate this team organization thing after the previous blog entry. This type of organization works great for commanding the AI and ensures that you make contact with a very small force, giving you ample options to develop the situation with the support team. 
Peeking east through "right street" reveals an enemy patrol reinforced with an APC. "Right Street" is a surface.
Looking east down "left street". At least two enemy patrols in the distance with maybe a technical truck. "Left Street" is another surface.

Looking down "center street" was a bit more tricky because its corner was an obscene open space. Here I am looking down "Center Street" from the safety of a house in front of it. Note how I avoid staying close to windows and doors. 

No contact so far in "center Street", this one is looking like a gap. Since my scout (#4, not shown here) is pulling security on my flanks, I am the only gun and pair of eyes on "center street". But in any case I already observed the street from a house now on my back and it is relatively safe. An additional peek down the street, now "slicing the pie". The house in front of me is an ideal point to bring my support team to over-watch and close up in case we make contact.


SITREP. Left and right streets are definitively surfaces. The question is: is the "center street" actually a gap?
With the support team holding a house on the side of the center street, I carefully move east with my scout (#4). 

Contact on the right flank. A heavy machine gun. I quickly dispatch it from my position without incident. Damn I love my rifle!

Moving east down "center street". This is the not-so-fun part of dividing the team into a light probing/recon and a support one. I have the support team overwatching my axis of advance, but  my flanks are not covered. Note the side street and alley on my left: great fields of fire for the enemy.
#4 and me make it to one of the houses where "center street" ends into a "T". Careful scouting required to leave #4 behind (AI pathfinding is atrocious inside buildings). I am not a big fan of roofs but the buildings were extremely short on windows. In the background, an enemy APC with a field of fire perpendicular to our axis of advance.
Need a moment to think. I am watching towards my guys now (note the support team in the house across the "center street", green icons). We have no AT weapons, how are we going to take out this APC?

I have no options but to try to snipe the APC gunner. Since the APC has no overhead armor, I may have a chance. I don't know how on earth I killed the heavy machine gunner before without throwing the enemy onto us, but this time I may not be that lucky and I want to have the whole squad ready to move out east once I take out the APC gunner.


I come back to my support team and organize them on the sides of the "center street".

I them move east with #4 and choose my shooting position carefully. I want to have to engage the APC from the maximum range possible for obvious reasons. In this picture, a few last nervous chews at the gum before getting into position. The APC is at my left and #4  is covering my right flank. 
In situations like this, I hate being such a lousy shot. I got the APC gunner, though, and the vehicle moved away really fast. I was lucky that this vehicle was unsupported by infantry.

It is time now to move the squad east and this is where I am going to stop the narrative and get back to the original point.

It all started with a clear tactical picture of "left" and "right" street as being surfaces. "Center" street, originally thought as a gap, ended up being a kill sack.
Take home lesson:the physical absence of enemy in a piece of terrain doesn't guarantee a gap and any piece of terrain where the enemy has a field of fire is actually a surface. 

Cheers, 

Saturday, November 20, 2010

Maneuver Warfare: A Wargamer's Notebook - Introduction

This series of blog entries are about the so-called "maneuver warfare" as explained by William Lind. The writings of Robert Leonhard will also be included. I claim neither expertise in the subject nor devotion to this way of waging wars and thus, I am not trying to convert you into anything. This series is not an analysis or a review of all ideas about maneuver warfare but rather some explorations about the topic based on computer war games and simulations. Future entries will be delivered based in readership.

Much has been written and debated about maneuver warfare and chances are you heard about this before.As a said in the opening paragraph, this is not a review, analysis or tutorial about maneuver warfare. For a complete coverage of the ideas you will have to check out any of the literature available. I can recommend two books as a starting point.


Maneuver Warfare Handbook, by William Lind, is the book that I will be using as a premier source for this series of entries.


The Art of Maneuver, by Robert Leonhard, is a discussion of maneuver warfare in the context of the now defunct AirLand Battle doctrine. Leonhard is borderline genius in his explanation of the art of war and this book is no exception.


More books will be added to this list in future entries.

What is maneuver warfare? That's a difficult question.

Let's start with what is not. Maneuver warfare is sometimes confused with "fire and maneuver" (the tactical moving and positioning of weapon systems in order to deliver fires onto the enemy). Although maneuver warfare involves "fire and maneuver", the former is a more encompassing way of fighting.

In Maneuver Warfare Handbook, Lind comes a bit short of defining it in a formal sentence or paragraph. One gets the impression that Lind is not very fond of summing up a way of fighting in a single grammatical salvo. Waging wars shouldn't be about applying fixed recipes and drills, and his reluctance to deliver a single definition is replaced by thought provoking tactical narrative.

However, there is a common theme to all the scenarios that Lind explains and that is the focus in incapacitating the enemy's command decision process. That is not to say that destroying the enemy is the ultimate focus. After all, we want to kill the enemy, not just annoy him. But it is easier to defeat a foe whose decision process has been targeted early on.

Lind recognizes three major guidelines (he calls them "filters") to shape a battle plan:

  1. Mission type orders: you can't defeat the enemy's tactical decision process if yours is very slow. Let your subordinates accomplish their mission or exploit opportunities as the see fit instead of waiting for your orders at every speedbump.
  2. Main effort or schwerpunkt: even when you don't want a battle-group of robots that wait for every detailed instruction, you don't want a circus where every captain thinks is an army group commander either. Your battle plan should have a point of main effort to glue all your subordinates' tactical actions  
  3. Surfaces and gaps: this one is very simple, put your strength onto the enemy's weaknesses. 
Cheers,